Azure Storage Explorer Helps you Access Your Data in the Cloud
If you have been developing solutions that you deploy to Azure, then you most certainly have also used some kind of storage. And that storage is most likely one that you can access with the Azure Storage Explorer.
This article will give you all the information you need to know about the Azure Storage Explorer to complete most of the tasks you typically would have when working with storage in Azure.
Installing Azure Storage Explorer
The Azure Storage Explorer is a free tool that you can download from the Azure website. It is available for Windows, Mac and Linux.
When you install the application on Windows, you can select between two different modes.
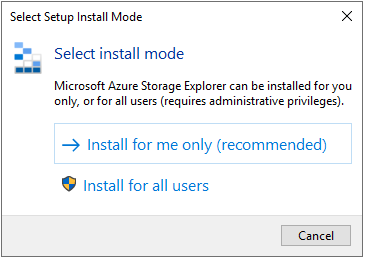
The first option is to install the Storage Explorer only for yourself. If the computer you are installing on is used by others with their own user account, they won’t be able to use the application. If you want to install for all users, then you need to be an administrator on the computer.
Most of the developers that I know have administrative access to their computers. So from that perspective, either of these modes would be just fine. However, since they usually also are the only users of their computers, the recommended option would probably be the best option anyway.
After this selection, it is just the usual license agreement, installation path and what you want to call the shortcut that will be created in your start menu. Usually you can just leave the defaults and complete the installation.
Settings
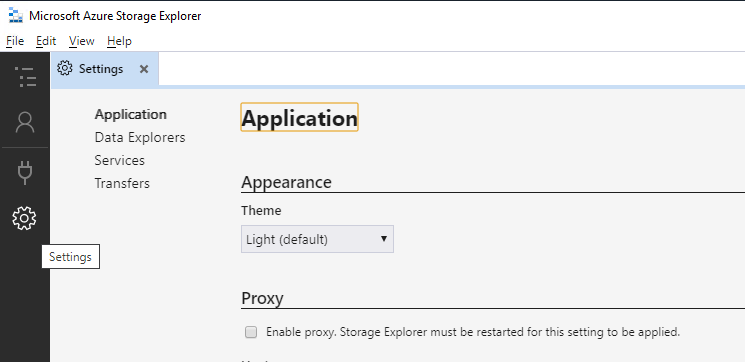
After you’ve installed the Storage Explorer, it is worth going through some of its settings. You find the settings page in the left menu, or by selecting Edit / Settings on the top menu.
Many of the settings you set will require additional actions from you before they are available. Some settings require that you restart Azure Storage Explorer. Other settings require only that you refresh the tree view with all the services in it. To be on the safe side, I would always restart the application. Normally, you set your settings once, and they you don’t have to worry about them anymore.
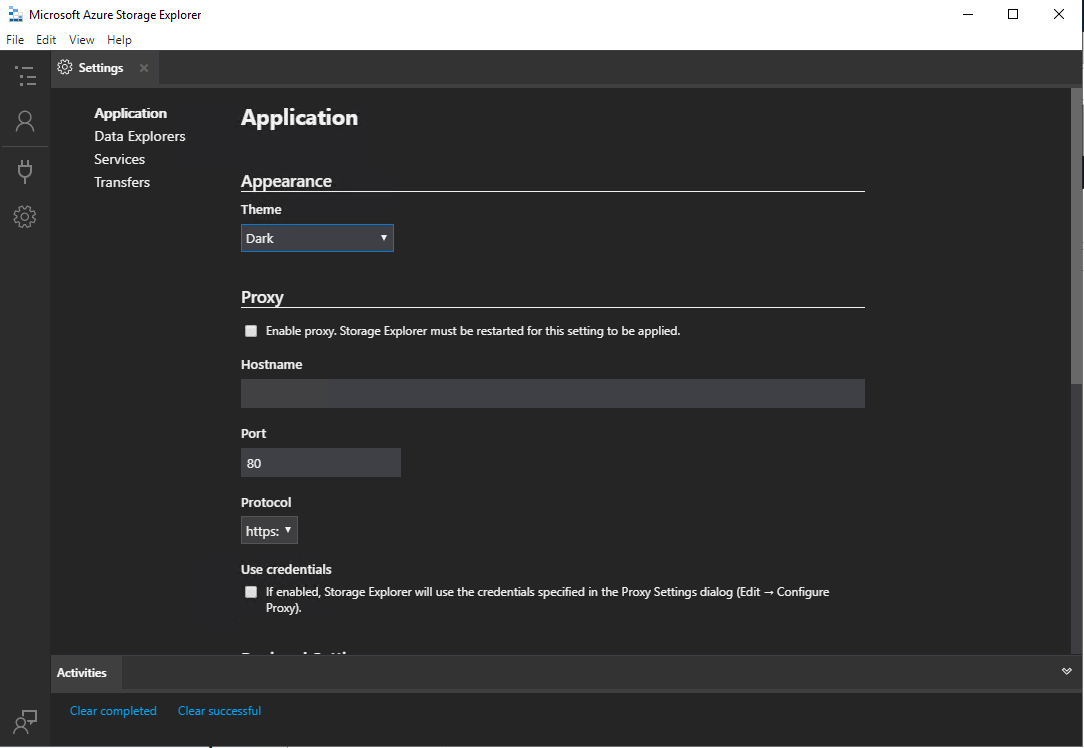
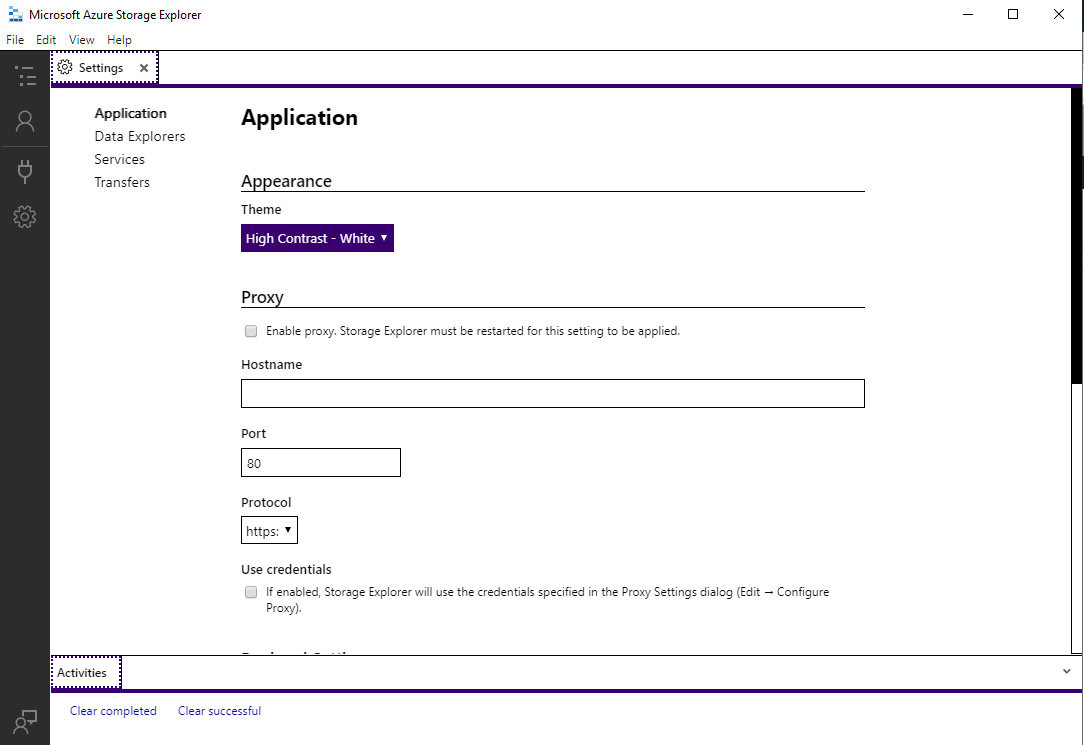
Theme
Under Settings / Application, you can select the theme for the application. If you are mainly developing on Visual Studio Code, or if you’re like me and use the dark theme in Visual Studio, then you might want to select the Dark them, instead of the default Light theme. There are also two high-contrast options: High Contrast – Black and High Contrast – White. There’s a screenshot of all four themes below. Click on the thumbnail to get a bigger picture.
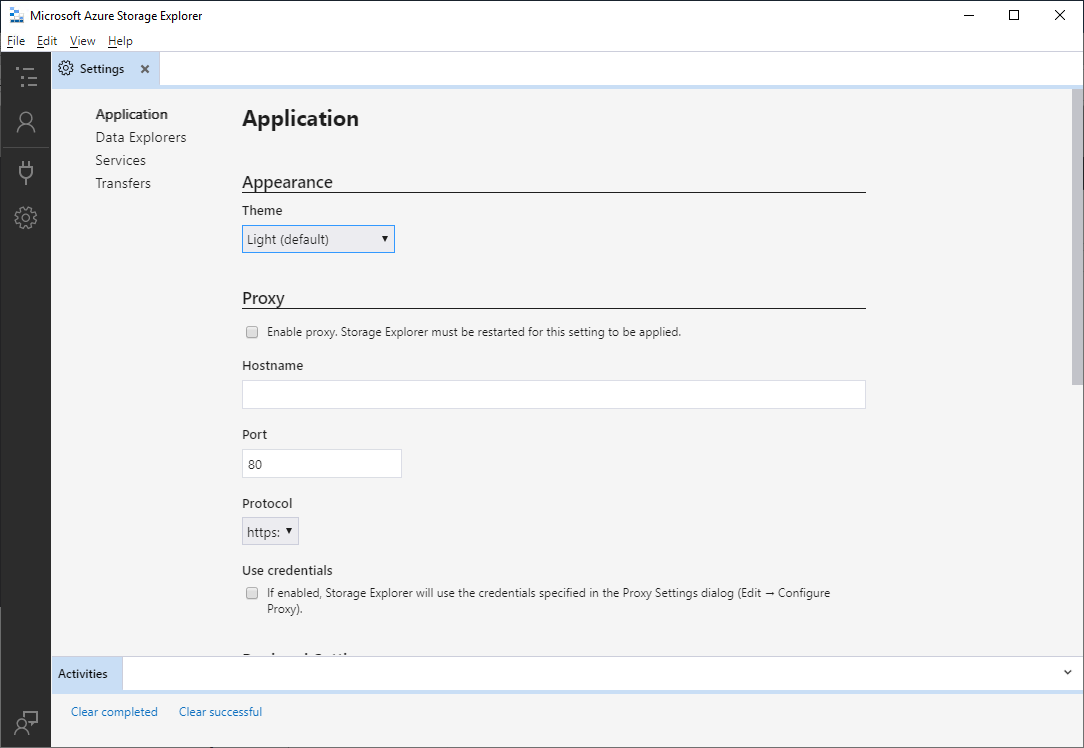

Configure a Proxy
Do you need to use a proxy to access the Internet? Don’t worry! You can configure it on the Settings / Application page too. You can also specify separate credentials to use with the proxy. That is done by selecting Edit / Configure Proxy on the top menu. I have to wonder why that is not included on the Settings / Application page.
Authentication
Now there’s still one more thing I’d like to point out on the Settings / Application page. Have you configured MFA or Conditional Access in Azure AD? If so, you will probably need to check the Microsoft Authentication Library option. If you’re not sure, leave the default option, and get back to this setting if you have trouble signing in.
Configuring Services
Then we’ll jump to the Settings / Services page. Here you can select which services you want to have available in Azure Storage Explorer. The application was originally created just to manage Azure storage accounts. That’s why there are a few more settings related just to storage accounts.
For Disks, Cosmos DB and Data Lake Storage Gen1 there’s still only the option of enabling or disabling that service.
Configuring Supported File Types
The final settings page is the Settings / Transfers page. On this page, you can for instance configure what file types (extensions) you want Azure Storage Explorer to trust. Opening trusted file types will not prompt you for a confirmation when opening a file. Instead, it will automatically be downloaded to your computer and and opened when downloading has completed. If you are downloading a lot of files that cause a prompt for ever download, it might be a good idea to add that file type to the list of trusted file types.
The rest of the settings on the Settings / Transfers page you can leave to the default values, unless you really want to change those, for some reason.
Different Types of Storage Supported by Azure Storage Explorer
This chapter briefly describes all the different storage types that are supported by Azure Storage Explorer. It is not meant to be an extensive, in-depth description of each service. I will be writing more detailed articles on those later on.
Storage Accounts
This type of storage is probably the most used kind of storage in Azure. You could even call storage accounts “traditional” storage in Azure. If memory serves me right, that was actually the first kind of storage offering in Azure.
Storage accounts provide the following different kinds of storage.
- Containers – Also referred to as blob containers. They provide a flexible way for storing unstructured data, i.e. any kind of file. Blob is an acronym for Binary Large OBject.
- File shares – Very similar to containers in many ways, but more like “traditional” network drives.
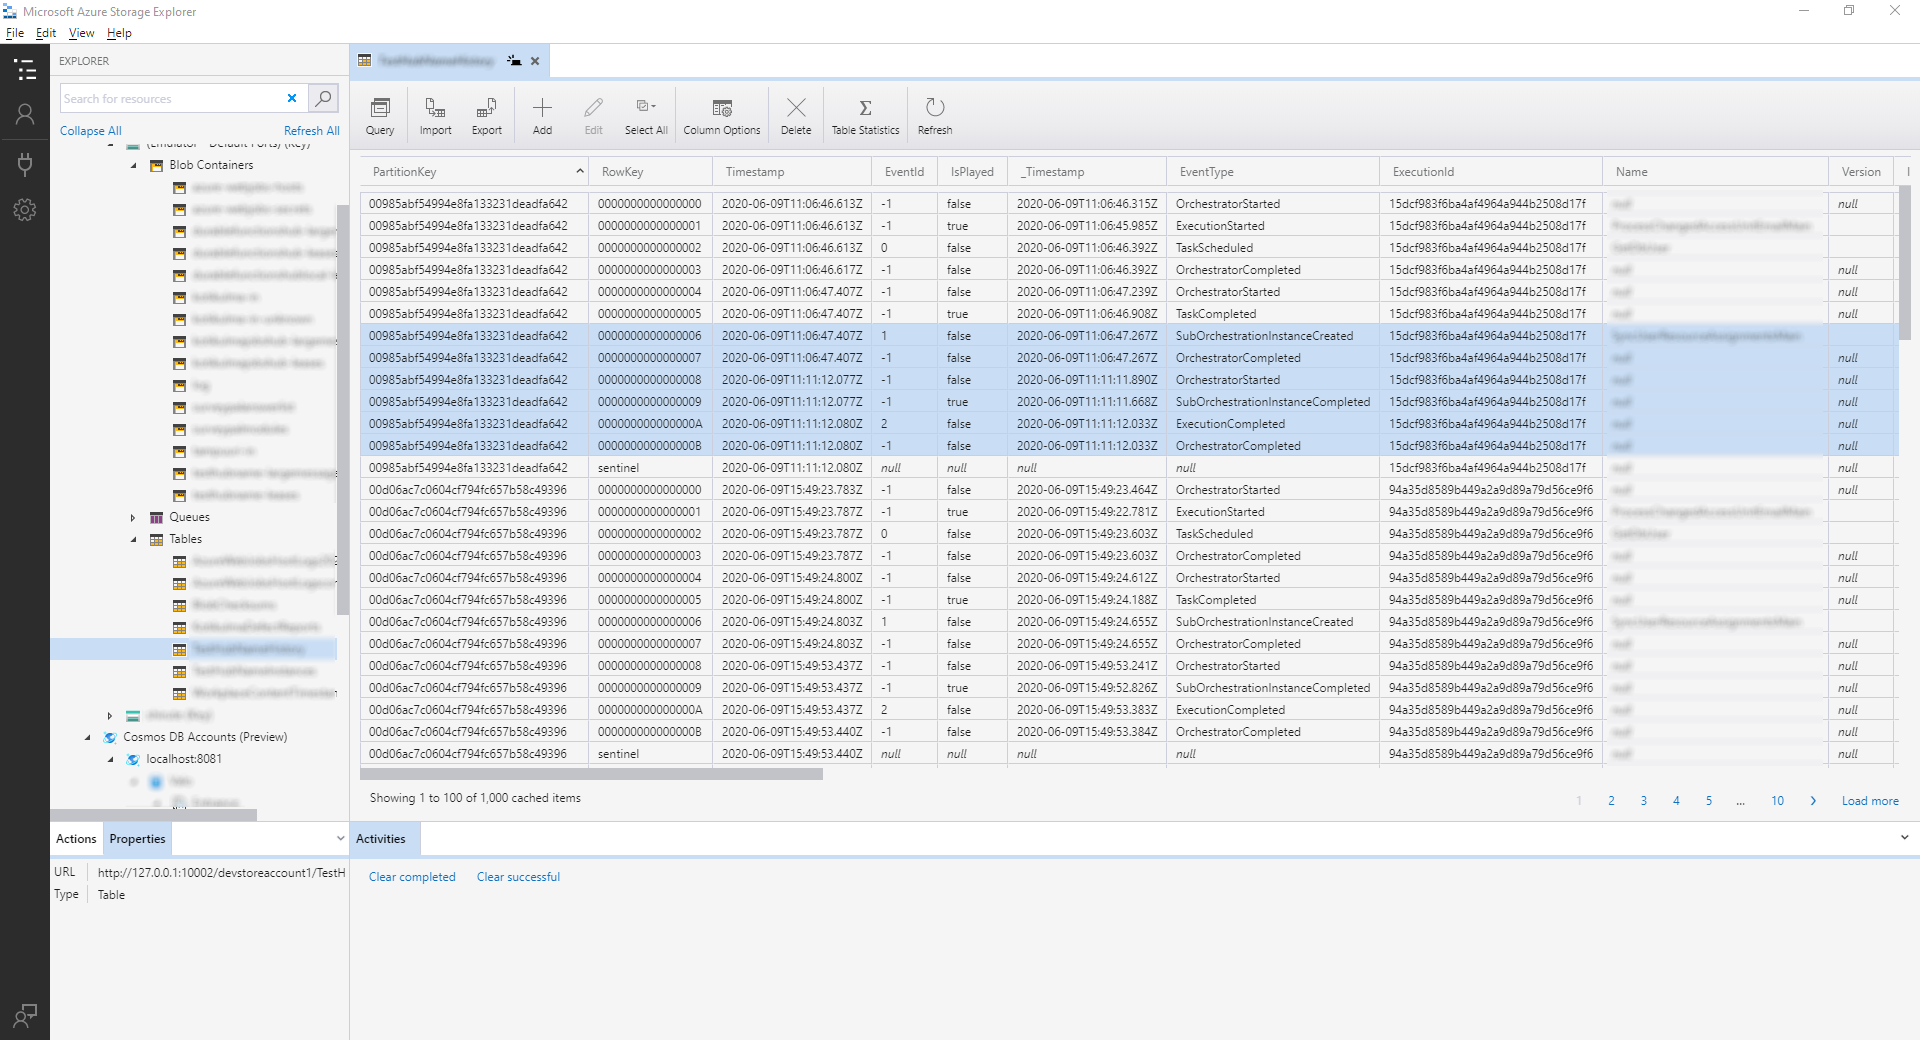
- Tables – These tables resemble tables in a relational database, like Azure SQL Database. However, these tables are very stripped down compared to their counterparts in a relational database. For instance, only two fields are indexed, PartitionKey and RowKey, and if your query filters or orders by any other column, that query will cause a full table scan. So be careful.
- Queues – Queues provide you with a reliable mechanism for sending and receiving textual messages. The messages can be plain text, JSON, XML, or any other format that is stored as text. These queues are a light-weight version of the queues in Azure Service Bus, so if you for instance need more features than what is provided, you should check out Azure Service Bus.
Disks
Offers you the ability to work with Virtual Machine disks. You can download disks from virtual machines you have running in the cloud (although the virtual machines need to be shut down before you can download the disk(s)), upload new disks from your computer, or create snapshots on disks that you have in Azure.
Cosmos DB Accounts
You can do a lot with your Cosmos DB accounts. You can view your documents in a collection and add filters to view just a subset. Editing those documents is also supported, and you have validation, in case you try to save a document that is not valid JSON. Naturally, you can also delete a document from the collection.
You can also run any SQL query against your collection, and see the results. In addition to the results, you also get to view the throughput (Request Units / s) your query consumed.
This is still in preview at the time of writing (aug. 2020). However, it has been a preview in the Azure Storage Explorer for quite a while already. Far beyond a year, at least.
Data Lake Storage Gen1
Enables you to manage the data you have stored for your big data analytics workloads.
Azure Data Lake enables you to capture data of any size, type, and ingestion speed in one single place for operational and exploratory analytics.
Data Lake Storage Gen1 Documentation
Read more about Azure Data Lake Storage Gen1 here.
Working With Azure Storage Explorer
Connecting to Azure
You typically have the Azure Storage Emulator already installed if you have Visual Studio or Visual Studio Code installed. The storage explorer is by default connected to your local storage emulator.
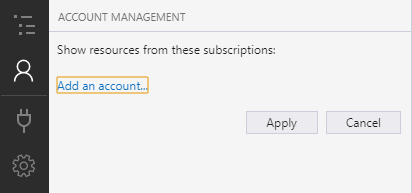
To add resources in Azure to your explorer, the simplest way is to log in with your account. To do that, select Manage Accounts in the left menu and click on the Add an account… link.
That will open the following dialog.
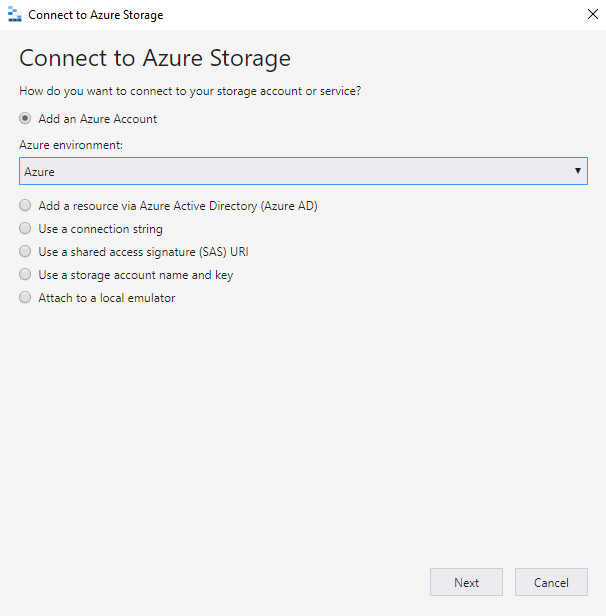
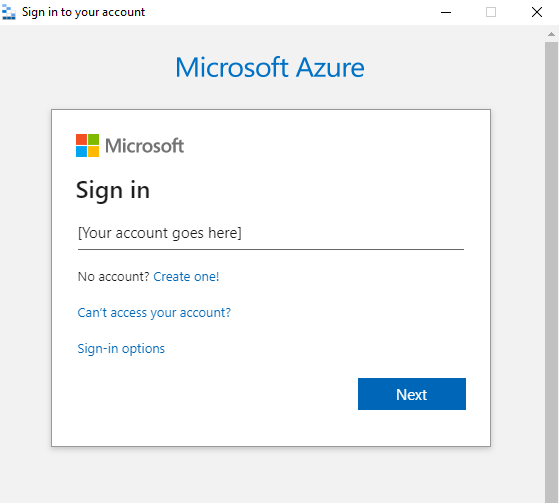
The default selections are OK for now, so just click Next. Then just sign in with your Microsoft or Azure AD account on the following dialog.
When you’ve completed the login process, all Azure subscriptions that the account has been granted access to are listed on the Manage Accounts page, as shown below.
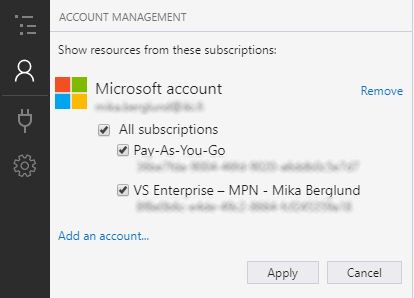
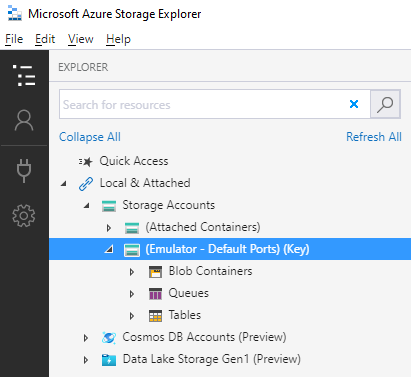
Select the subscriptions you want to have listed in Azure Storage Explorer, and click Apply. The subscriptions will then be listed as shown below.
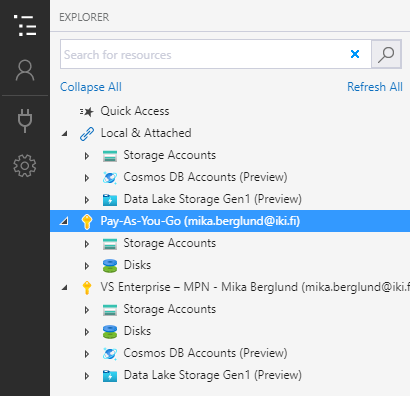
Now you are ready to start working with the resources in your selected subscriptions.
Using Quick Access
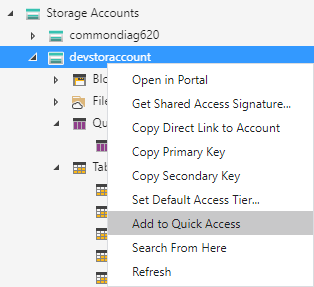
When you have connected to your resources in Azure, you should take a quick look at the Quick Access node. That’s the place where you can pin the resources that you use the most, so that you have them quickly available.
You can pin stuff to the Quick Access node on several levels. You can pin an entire storage account, or individual resources within a storage account. The same applies also to other types of resources supported by Azure Storage Explorer.
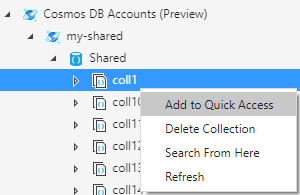
Cosmos DB resources can be pinned to Quick Access on account, database or collection level.
A word of caution! When you want to remove a resource from your Quick Access, make sure you select Remove from Quick Access and not Delete [resource]. The delete command will actually delete the resource from Azure and not just remove the resource from Quick Access.
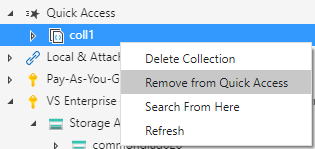
I would rather see that the delete command would completely be removed from the menu for Quick Access to prevent you from accidentally delete a resource.
Uploading and Downloading Blobs
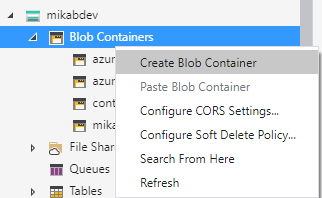
All blobs in an Azure storage account live in containers. So you first need to create a container before uploading anything.
Right-click the Blob Containers node under your storage account and select Create Blob Container.
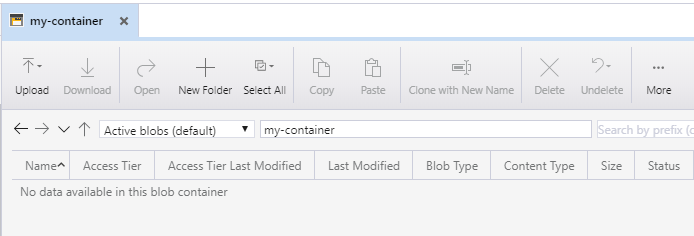
Note that the name of a container must contain only lower-case letters or numbers, which can be separated by dashes. Only one dash is allowed. So, for instance my-container is OK but my--container or My-Container is not OK.
When you’ve created the container, select it and you are ready to upload files to it. The easiest way to add files to a container is to just drag and drop individual or multiple files, or one or more directories. You can also use the tools on the toolbar to work with files.
Working With Storage Tables
To create a new table using Azure Storage Explorer, right-click the Tables node under your storage account, and select Create Table.
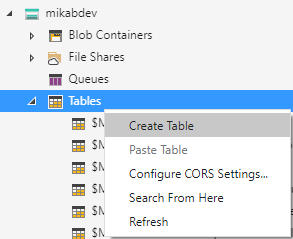
The name for a table does not follow the same rules as containers. You can for instance use both lower and upper case letters, but no dashes. So, MyTable is OK, but My-Table is not OK.
To add a new entity, select the table you want to add the entity to, and click Add.
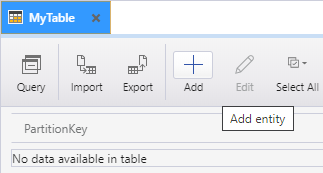
By default, you only have PartitionKey and RowKey available when adding an entity to a table.
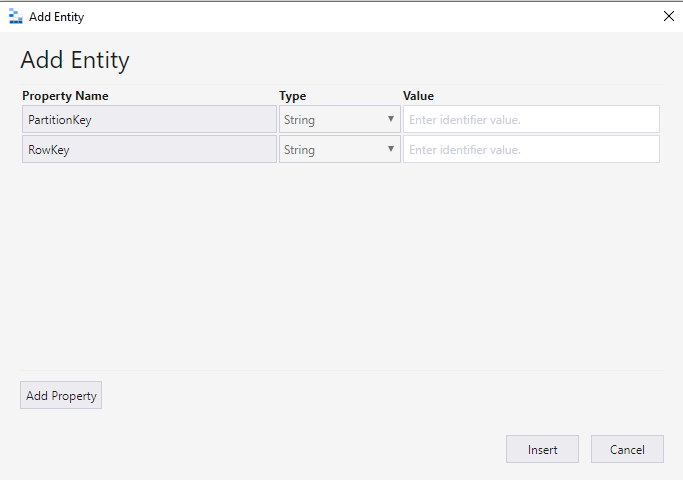
To add more properties (fields) to your entity, click on Add Property.
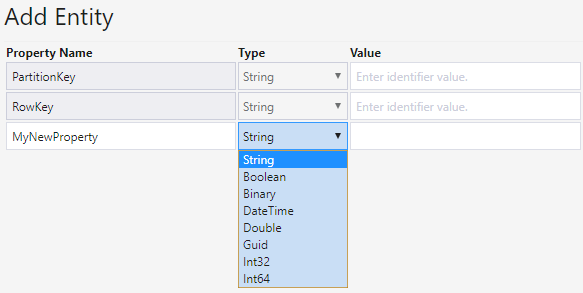
Give the property a new, and select its type. Give your properties a value, and click Insert. To open up the entity you just created, double-click on it in the table view. Note that only your custom property can be modified.
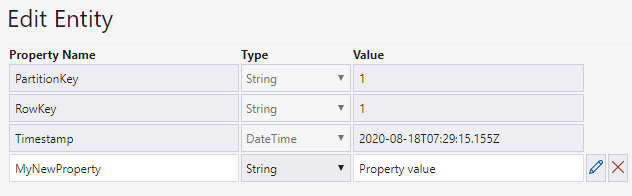
PartitionKey and RowKey are read-only, and cannot be changed during the lifetime of an entity. If you need to change either of these values, you need to create a new entity and delete the old.
Note that PartitionKey and RowKey are unique combinations. A table does not allow duplicate values.
When you add another entity to the table, all properties that you have so far added to your entities are by default listed on the Add Entity dialog.

If you don’t want a property in your entity, you can just delete it. If a property you need is not listed, you can add it by clicking Add Property.
Working With Queues
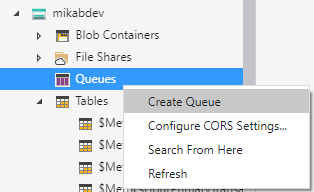
To create a new queue, right-click Queues under your storage account, and select New Queue.
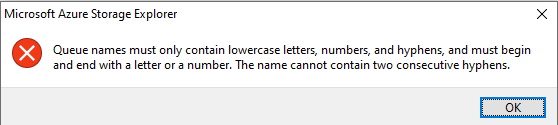
Queues follow the same naming rules that containers do, apparently.
After you’ve created your queue, consider adding it to Quick Access for handy access.
Adding Messages to a Queue
To add a message to a queue, click the Add Message button on the toolbar.
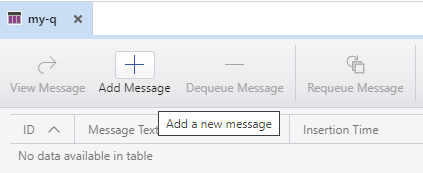
This will open up the Add Message dialog.
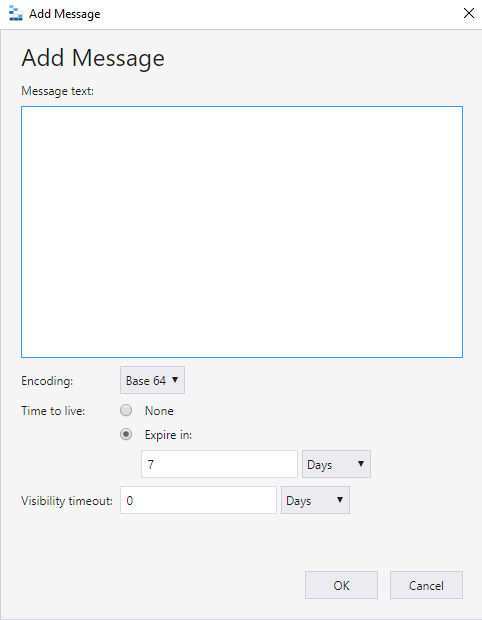
Message Expiration
When you add messages to a queue, you can also specify how long the message will be available in the queue. The default expiration for messages is 7 days, but you can specify that to anything from one 1 second to never expire.
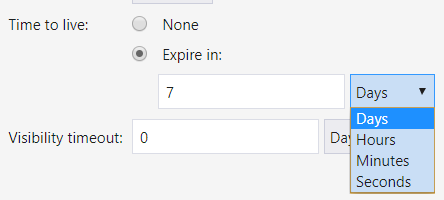
Visibility Timeout
You can also delay a message from being visible in a queue. The Visibility timeout setting allows you to specify the amount of time that has to pass before the message is visible for applications dequeue.

This message will not show until 30 minutes after it has been added to the queue.
Dequeuing Messages
Queues are mechanisms that guarantee that the first message put in a queue is the first message to come out of it. Getting a message from a queue is called dequeuing. That’s much easier to pronounce than to spell, actually 😉
When you dequeue a message, the first message in the queue will be removed. That is regardless of which message you have selected in the explorer view. Still, you have to have a message selected in order for the Dequeue Message button to be activated. I would say this is a bug in Azure Storage Explorer, since you could have that button active as long as you have messages in the queue.
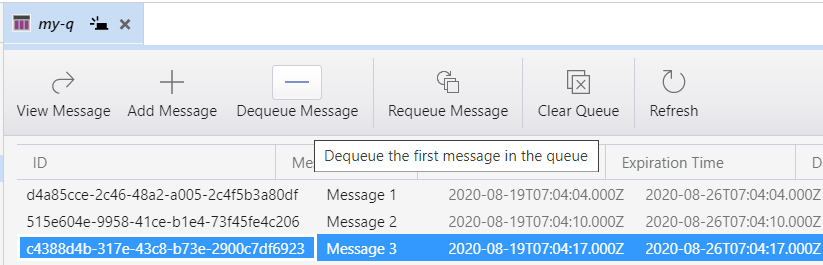
So in the picture above, even if I have the last message added to the queue selected, the first message will be removed when I click Dequeue Message.
File shares in an Azure storage account are very similar to blob containers. The difference is that file shares can be mapped as network drives on your computer. You can mount a file share on Windows, Linux and Mac, as long as the OS supports SMB 3.0. For details on how to use file shares on Windows see this article. Instructions are available also for Linux and MacOS.
To create a new file share, you do as with other types of resources in Azure Storage Explorer. Right-click on the File Shares node under the storage account you want to create the file share in, and select Create File Share.

Then you just specify the name for your share, and hit Enter. If you enter a name that does not meet the requirements for file shares, you will get the following error dialog.
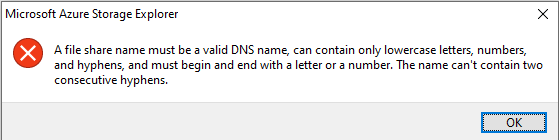
Adjust your file share name accordingly.
To map a file share to a network drive on your computer, either Windows, Linux or Mac, you must log in to the Azure portal. At the time of writing, late August 2020, you cannot do the mapping directly from Azure Storage Explorer.
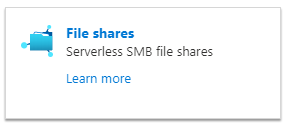
Select your storage account, and on the Overview panel, click on File shares.
In this list of file shares click on Connect.
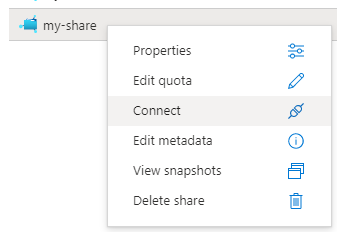
This will open up the following dialog.
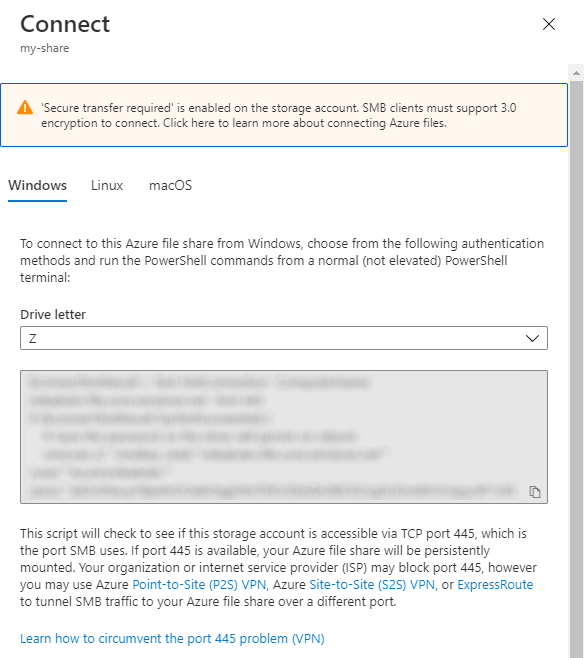
Here you can copy the command to run in a console window to get the mapping done. Just select which operating system you want to do the mapping on.
Working With Disks
Disks in Azure Storage Explorer allows you to work with disks of virtual machines. For every resource group you have in your subscription, you will have one node under the Disks section.
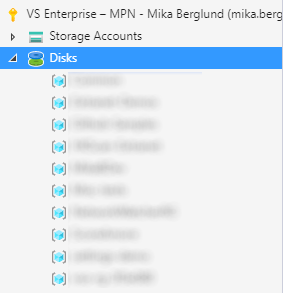
Select one of the resource groups, and you will see all the virtual machine disks in the selected resource group. You can download a disk, copy it to a new disk, or create a snapshot of the disk.
If you have built a virtual machine disk (.vhd) file on your local computer, you can also upload it to the resource group in order to create a new virtual machine from that disk.
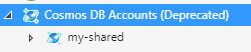
Working With Cosmos DB
I just updated my Azure Storage Explorer since it notified me of an available update (the August 2020 version). In this update, Cosmos DB support has been deprecated. According to the deprecation note, any existing functionality remain for at least a year. This would mean that you could use Azure Storage Explorer to manage Cosmos DB accounts until August 2021.
However, since we now know that these features are going away, I would stop using them right away. The deprecation note says that you should prefer either the Azure Portal, the desktop version of the Azure Portal, or the Cosmos Explorer. My choice is the Cosmos Explorer. That’s because the Cosmos Explorer is a separate tool developed by the Cosmos team. And that tool will be the same for Cosmos running in Azure, and the Cosmos DB emulator running your your local machine. The Cosmos Explorer will give you the same experience regardless of where your database is running.
Working With Data Lake Storage Gen1
Data Lake Storage in Azure is designed to store data of any size for your big data solutions. The support in Azure Storage Explorer is still in preview. There is also a Gen2 available for Data Lake Storage, so I guess this is one of the least used features in Azure Storage Explorer.
All the Data Lake Storage Gen1 accounts you have in the subscription you connected to previously are automatically listed in the explorer under the Data Lake Storage Gen1 (Preview) node.
Select one of these accounts to manage the files stored in that account. You can do basic file management tasks such as upload one or more files from your computer. You can also upload entire folder structures in one go, or you can create folders separately.
The functionality is very much similar to what you have for working with blob containers that I wrote about above.
Summary
The Azure Storage Explorer tool is one of the tools I used the most when designing and building solutions in Azure. With the deprecation of Cosmos DB support, I guess I will be using it slightly less. But it will still be a very useful and handy tool that I will keep in my toolbox.
If you did not download it already, I urge you to do so and give it a spin. You won’t regret it.
0 Comments