There are many cases where you need to create a user account in Microsoft Entra ID (“ME-ID”) and share it with a bunch of people. Accounts created for testing purposes is a very common use for shared accounts. Usually you would just create an account with a username and password. Then you store that in a password management application and share it with your peers. My favourite password manager is definitely Bitwarden.
Note! In Microsoft 365 there are typically restrictions that apply to how shared user accounts may be used. As a rule of thumb, always create personal accounts for all your team members for normal operations. Shared accounts should only be used for development and testing purposes.
But nowadays, ME-ID has security defaults enabled by default, or has MFA enabled in other ways. That makes things more complicated. How do you share the ability to perform MFA with your team? What if you need to do MFA login in your test automation?
Luckily there is an easy way. I’ll go through the necessary steps in this article.
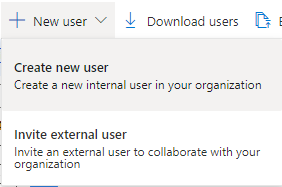
You start with creating a user account like you normally would. Head over to Microsoft Entra admin center, and log in with a user account that is allowed to create user accounts. Then from the menu, select Users / All users. Above your users list, click the New user menu item, and select Create new user.
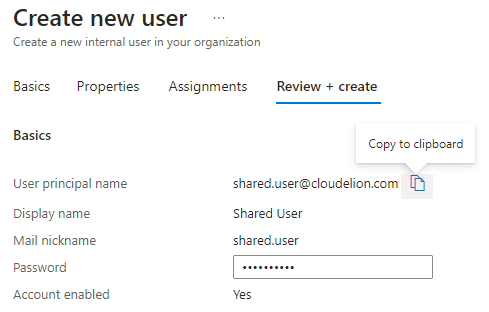
In the Create new user wizard, type in the information about the user you need.
Note! If you select the Auto-generate password option, you need to copy the password using the Copy to clipboard button next to the password field.
When you’re done, head over to the Review + create tab. If you did not yet copy the username, you can do it here by clicking the Copy to clipboard button.
When you have copied both the password and the username, and stored it in your password manager, for instance Bitwarden, then click the Create button to create the user.
First Time Login
Before you share the account with your peers, you must complete the account by logging in the first time. During the first login, you take care of the following things.
Change the temporary password
Configure MFA
Optional other authentication methods
I usually log in to myaccount.microsoft.com in these kinds of situations. Remember to start your browser in the In Private mode (Edge) or Incognito (Chrome) so that you don’t mess up your regular browser profile that you are using.
Change Password
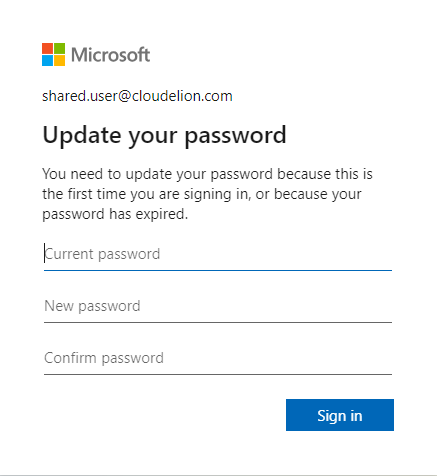
The first thing you need to do after logging is to change the temporary password.
You can use your password manager, for instance Bitwarden, to generate a unique and strong password. Remember to save your new password in your password manager. Then click Sign in to continue.
Configure MFA
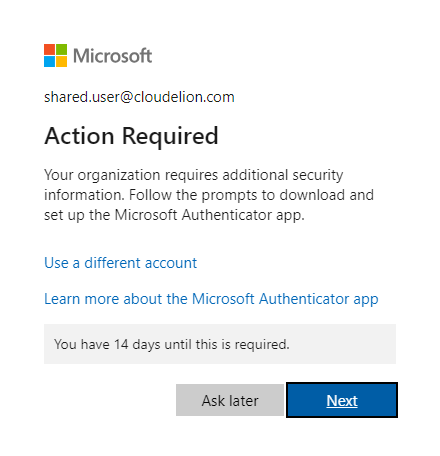
When you completed changing the password, you need to configure multi-factor authentication settings for the account.
Even though you have 14 days to complete this step, it is a good idea to do it right away. Especially if you plan on using the account for longer than 2 weeks. You’ll have to do it anyway.
To start the MFA configuration, click on the Next button.
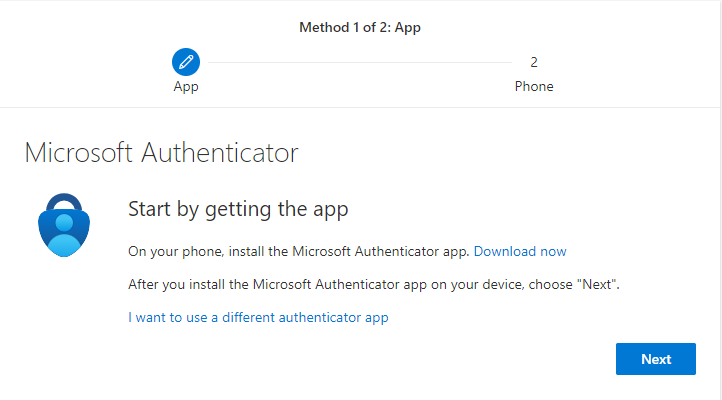
The default authenticator application is obviously Microsoft Authenticator. But, since you are planning on sharing the account with others, it is very important that you click the I want to use a different authenticator app link. Clicking that link will take you to the generic authenticator application configuration, as shown below.
Note! The reason why you must not select the Microsoft Authenticator option is because that will configure the MFA for the account to send challenges back to the authenticator app for you to approve. That becomes a bit tricky if you want to share the account with others. You can still use the Microsoft Authenticator application, or any other authenticator application. You just have to take the generic configuration route.
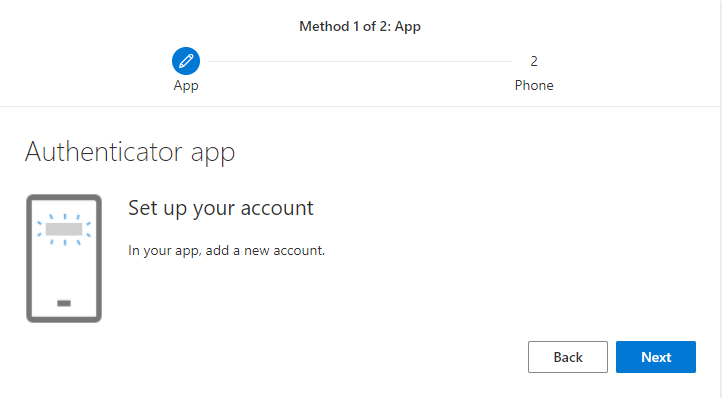
Click the Next button to continue with the configuration.
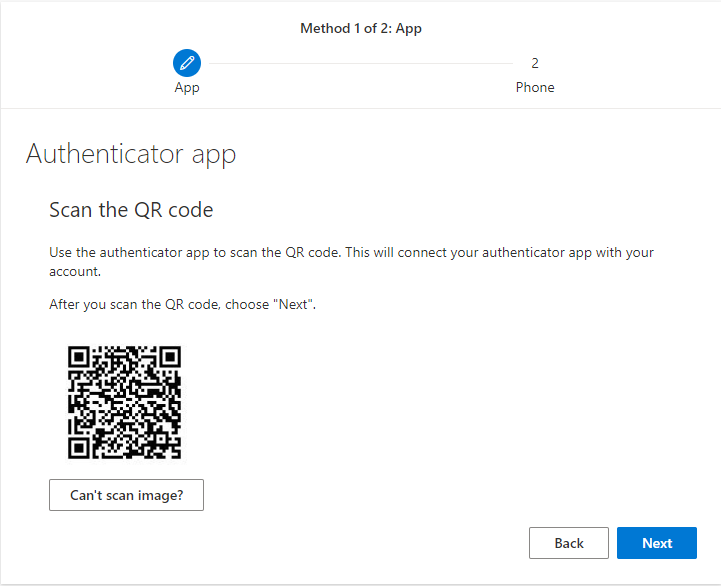
Click on the Can’t scan image? button to show the secret key that you need to save.
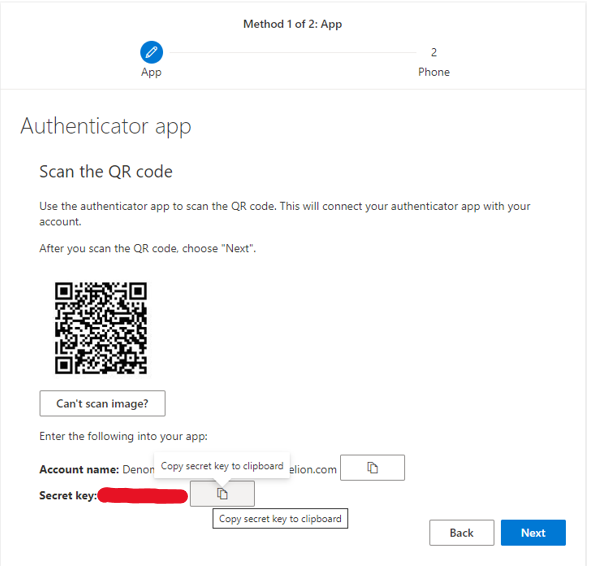
Copy the secret key to your clipboard, and click the Next button to continue. Remember to save the secret key. You will never see it again after you leave this screen.
Note! At this point, if you would like to add the account to your Microsoft Authenticator, scroll down to Add the Account to Microsoft Authenticator, and follow the steps there. Instead of entering the code manually, you can actually scan the QR code above.
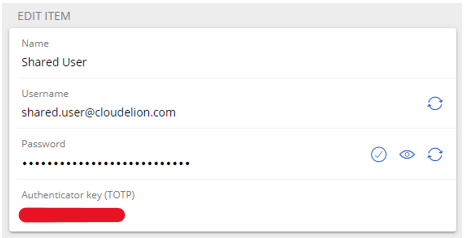
In Bitwarden, you store this secret key in the Authenticator key (TOTP) field.
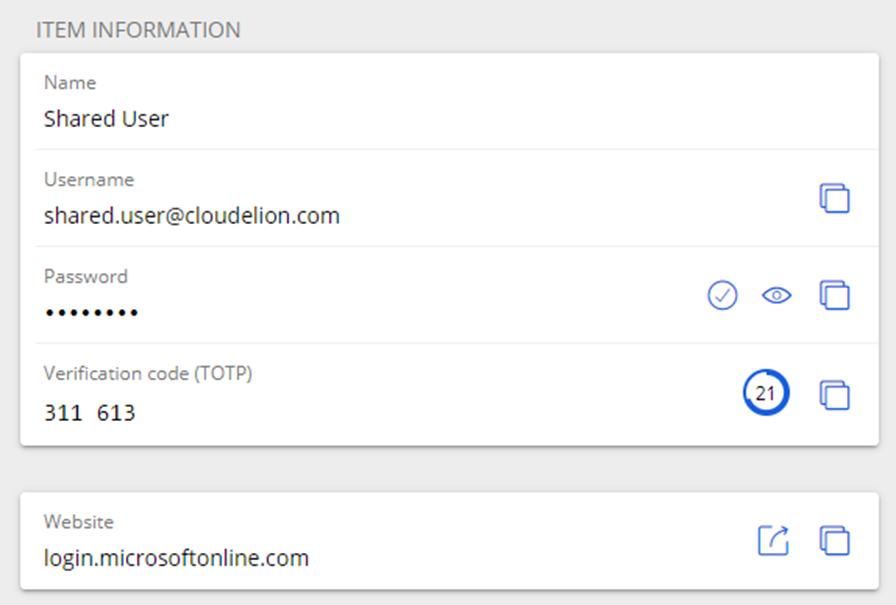
One nice thing about Bitwarden is that it can work as an authenticator app for you. When you save the account with the secret key stored in the Authenticator key field, Bitwarden will show you the TOTP (Time-based One-Time Password) that will work as the MFA challenge. To add the account to Microsoft Authenticator, have a look at Adding the Account to Microsoft Authenticator below.
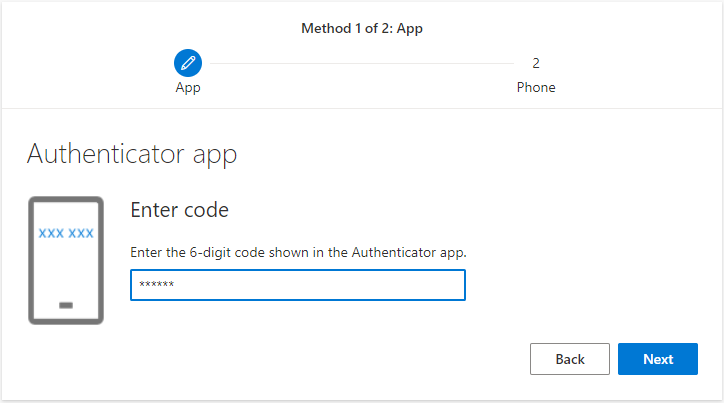
Getting back to the MFA wizard. Here you can now try the TOTP (time-based one-time password) generated by Bitwarden. Click Next to verify that the code you entered checked out.
Optional Authentication Methods
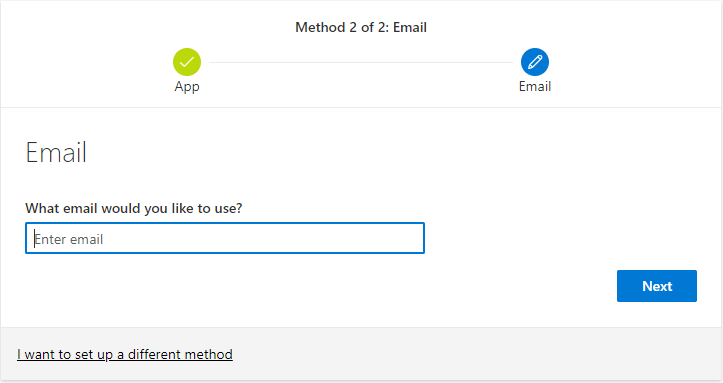
Depending on the configuration in the ME-ID tenant you are setting up the account in, you may need to configure more authentication options. These can be for instance one-time passwords sent by text message to your mobile phone or by e-mail.
These are not required for normal use, since the username, password, and TOTP are enough for several persons to log in with the same account. Still, if they are required, you need to complete the steps in order to complete the first login for the account.
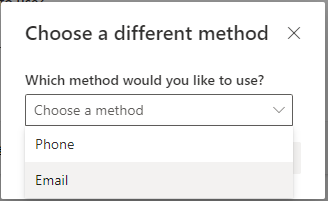
I chose the email option above. If you want to configure this step using text messages, click on the I want to set up a different method link. Select from the available options.
In my case, there are only two options.
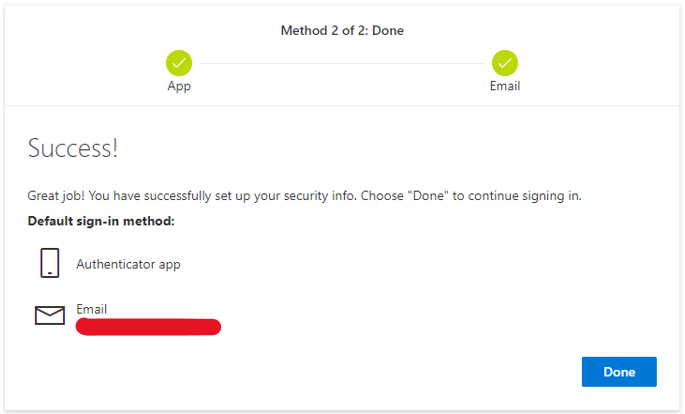
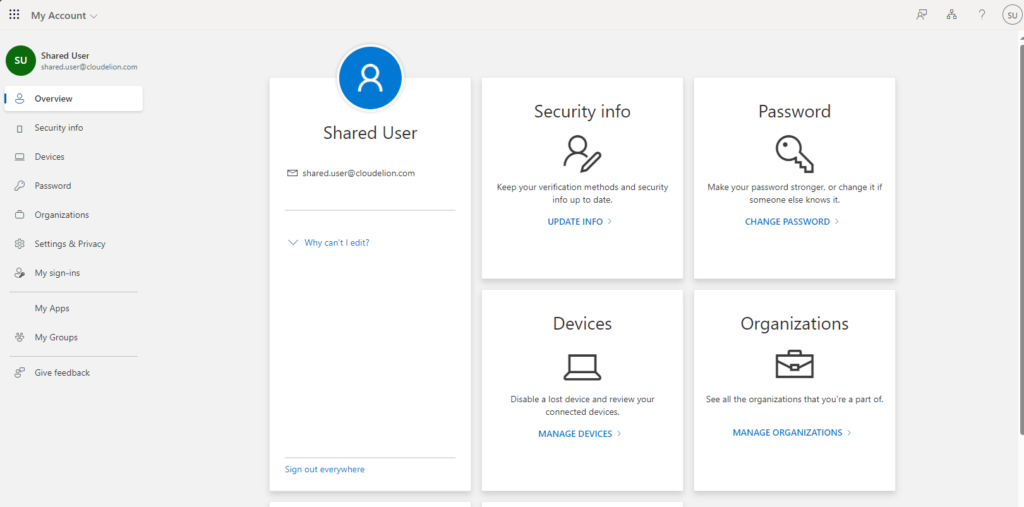
When you come this far, tap your self on the shoulder. You’ve completed the initial setup for your account. When you click the Done button, you will be taken to the My Account portal.
Remember to share the username, password and Authenticator key with your team, or whoever you were planning on sharing the account with.
Enforcing MFA Login
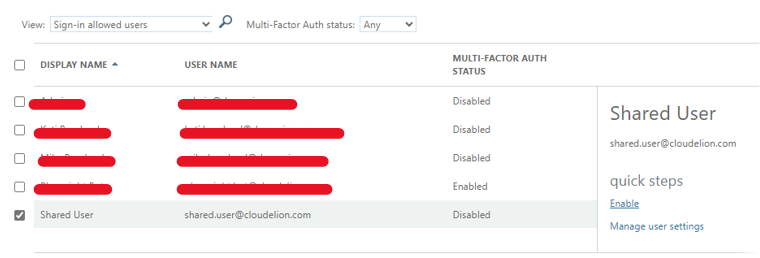
Even with security defaults enabled in your tenant, you may still not be required to complete an MFA challenge every time you log in. That decision is made by the security mechanisms enabled by security defaults. If you want to make sure that you are required to provide MFA verification each time you log in, you can do so by logging in to the Multifactor Verification page.
Select the user account you want to configure, and select Enable / Disable / Enforce.
Adding the Account to Microsoft Authenticator
To add the account to your Microsoft Authenticator app, follow the steps below. This is what your team mates or other peers would typically do when they start to use shared account. These instructions come without screenshots, because at least on my phone, Microsoft Authenticator does not allow to take screen shots.
Start Microsoft Authenticator, and click the + sign above the list of accounts you have configured
Select Other account (Google, Facebook, etc.)
Do not select any of the Microsoft options
On the Scan QR Code screen, click Or enter code manually at the bottom of the screen
Enter a name for the account and the authentication key, and click Finish.
Open the account, and verify that the changing one-time password matches the one that you have in Bitwarden.
Conclusion
At the end of the day, this is pretty straight forward. Personally, I am doing this whenever I create an account in Microsoft Entra ID, Azure AD B2C or Microsoft Entra External ID, that I know that I need to be able to access, even if I don’t have my phone available. Also, if I know that I am creating an account that I want to share with my team, I follow the same process.


0 Comments