The Anatomy of a Blazor Server Application

If you attended the .NET Conf 2019 virtual conference last week, you probably know that ASP.NET Core 3.0 is out, and that it ships with support for creating Blazor Server applications.
So I’m not going to go into details about what Blazor is. You will probably find a lot of information about Blazor online. I’ll just summarize Blazor shortly. It is a framework that allows you to write client-side applications, such as SPAs, but you write your code in C#. Not JavaScript nor TypeScript, but C#.
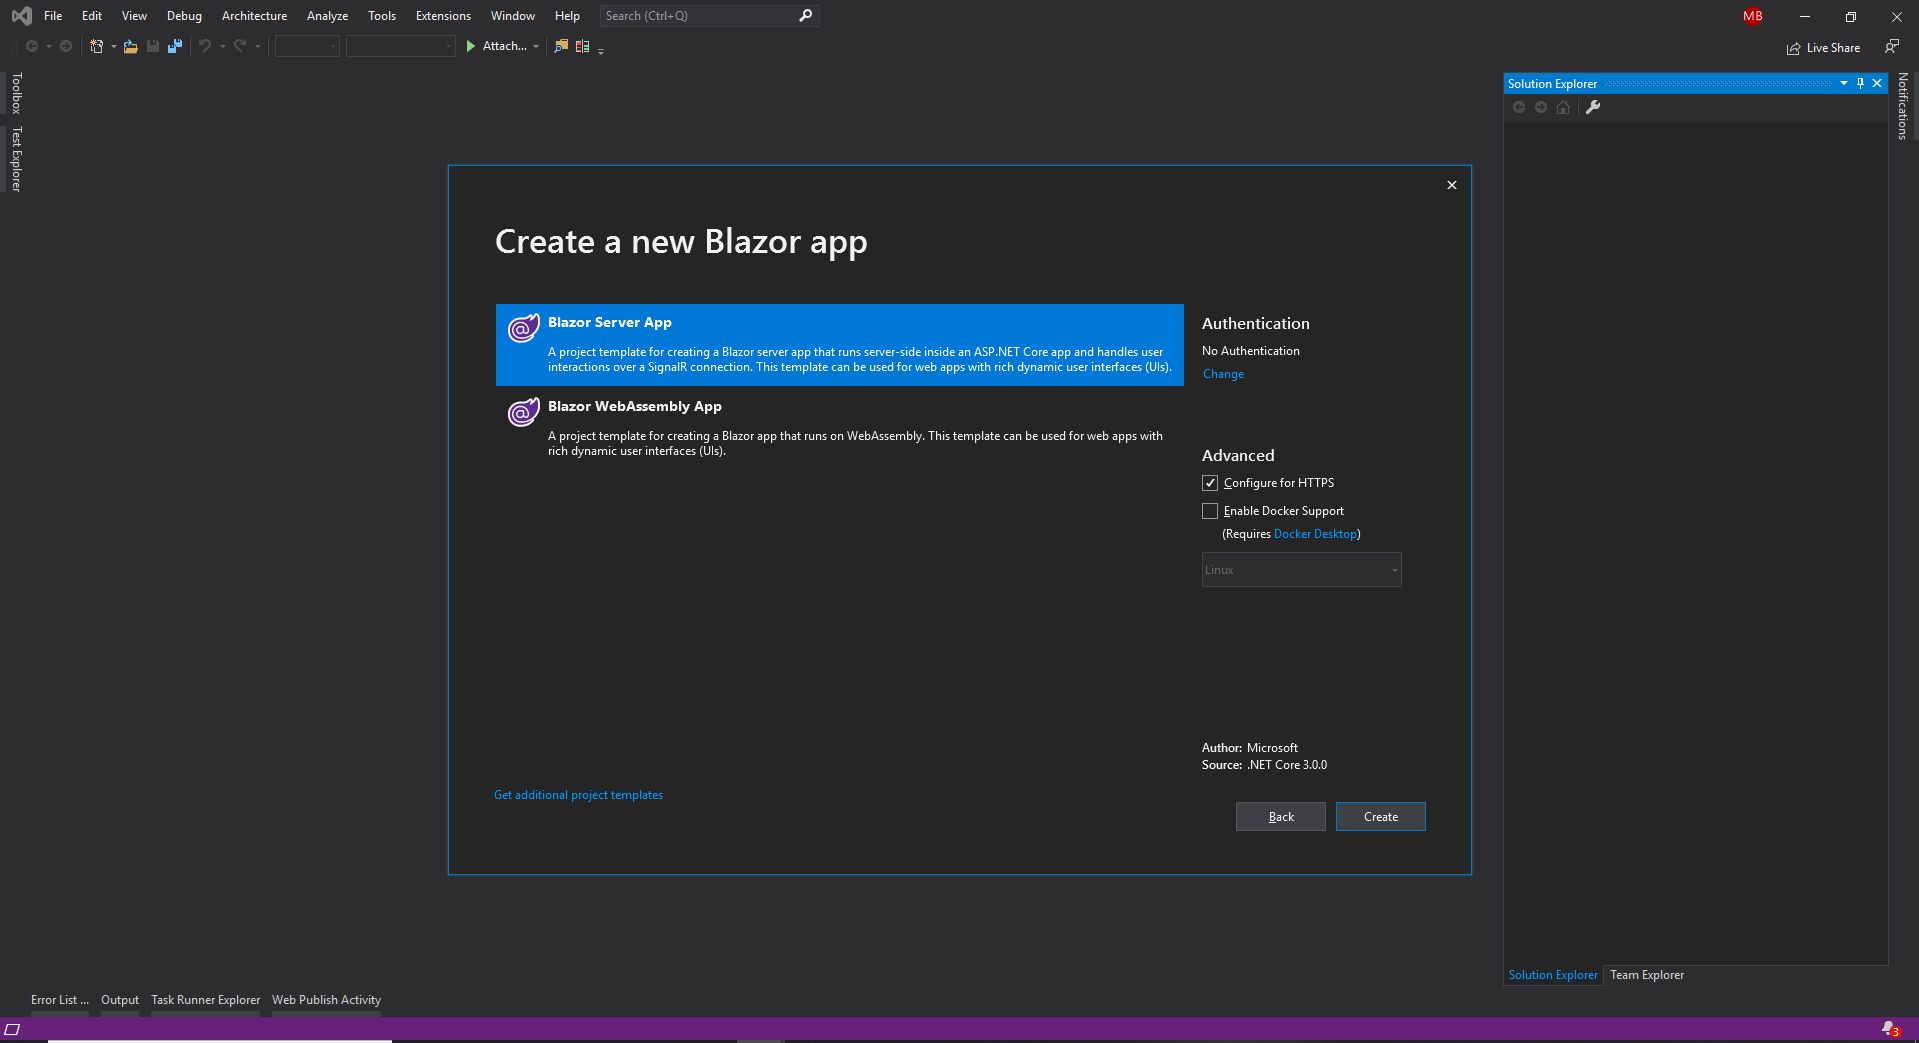
This article is about a minimal sample application that I wrote on my GitHub account that explains what you need to do to get Blazor wired up. Sure, you can just fire up Visual Studio 2019 and create a new Blazor application without having to do any kind of wiring. However, I usually try to understand how things are built, at least to a certain level. Creating stuff from scratch is one good way to learn.
Sample Application
I wrote the sample application on my GitHub account. You will find the application here: https://github.com/MikaBerglund/Anatomy-of-a-Blazor-Server-Application
I created the application using the ASP.NET Core Empty template. Look at the individual commits to see what I’ve added to the empty application to wire up Blazor.
Wiring Up Blazor
As of ASP.NET Core 3.0, Blazor is now a first-class citizen. What this means is that you don’t need to add any additional references than you already have. It’s just a matter of modifying existing files and adding a handful of new ones.
Startup Class
The first thing you have to do is add and configure the services in the Startup class. In the ConfigureServices method, you need to add Razor pages and support for server-side Blazor. Then, in the Configure method, you need to enable these features.
First, you enable HTTPS redirection, so that any requests to HTTP will be redirected to HTTPS. This is not a Blazor requirement, but in order to make this a good foundation for you to build your Blazor applications on, it’s good to add this in at this stage. Then you add support for static files. Static files are not required by Blazor either. Not at least throretically. However, when you start building your application with all kinds of file resources like CSS, images, fonts and scripts etc., you will need support for static files. So it’s good to add that in too at this point.
The last thing you need to do in the Startup class is to enable the Blazor Hub and add a fallback page.
The Blazor Hub is actually a SignalR Hub that Blazor uses on the client-side to communicate with the server-side application. Blazor also uses the SignalR Hub on the server to invoke JavaScript functions on the client.
The fallback page acts as the starting point for the application. If ASP.NET Core does not find any files or dynamic routes matching an incoming request, then this is the file that will be processed.
_Host.cshtml
This is the fallback page that will be processed, if no other file or route matches the incoming request. You can think of it as the root or host of your Blazor application.
This file has two main responsibilities.
- Add the outer HTML markup including references to style sheets and script files. In this minimal application that I’m covering here, there are no references to such resources.
- Render the root component of your application, which then in turn will take care of rendering all the rest of the components.
_Imports.razor
You add the _Imports.razor file to the root of your Blazor project. The file contains using statements for namespaces that you want to use in your Razor components.
AppRoot Component
The AppRoot component is the root of your application, which specifies how the rest of your application will be loaded. Typically, this component just defines routing and references the main layout of your application.
You also define the content that you want to display, in case a route matching the current request is not found.
MainLayout Component
The MainLayout component is responsible for creating the overall layout of your application. This typically includes menus, footers, side panels and other elements that are the same on every page in your application.
The thing to note with this component is that it needs to inherit from the Microsoft.AspNetCore.Components.LayoutComponentBase class. This base class exposes the Body property, which will contain the body of your application for the currently loaded page.
You can place the body on the layout anywhere you find appropriate. In my minimal sample, I just added the body inside a <div /> element.
Index Component
The Index component is a page component that will act as the home page of the application, just like an index.html document would on a normal website. Although technically it could be stored in the Components folder, I like to keep the pages separate from the components. Pages are associated with particular routes, and components are just reusable components that can be used on any page, or other components too.
With this you now have your minimal Blazor server application properly wired up, and you can start it up by hitting F5.
Summary
That’s all you have to do to make an empty ASP.NET Core 3 application into a Blazor server application. Of course, this is just the beginning of your application. But this is a good place to start. You can naturally use the ready-made template in Visual Studio 2019 to create your Blazor server application. But creating it this way would give you more control on how you structure your application.
Personally, I haven’t yet been able to get any real-world experience with Blazor, but I really feel that it will simplify application development in many cases. Of course there will still be room for ReactJS, Angular, Vue and similar frameworks, but I think it’s good to have alternatives. And quite frankly, I’m not that keen on much of the hassle you have with client-side development with webpack, npm and all of those.
Compared to that, Blazor application development feels like a breath of fresh air, and I really look forward to starting our first customer applications with Blazor. I’ll keep you posted.


0 Comments