Blazor Authentication with JWT Token Using Blazorade MSAL
Lately I’ve been working a bit on Blazorade MSAL and updating it to work with .NET6. At the same time, I thought I’d write a sample application that demonstrates how to do Blazor authentication with JWT tokens when connecting to Microsoft Graph. When working on that sample application, I came up with a few improvements to Blazorade MSAL. These improvements make it super easy to implement Blazor authentication with JWT tokens to connect to any REST API. This article describes the most important parts of this sample application. You find the sample application on Github.
Overview
When talking about Blazor authentication with JWT tokens, I’m referring primarily to access tokens. Your Blazor application uses these tokens to authenticate to a REST API on behalf of the user. This is also called delegated permissions – A user delegates permissions to an application. In the sample application described in this article, I’ll cover connecting to Microsoft Graph. But the same principles applies to any Blazor application that implements authentication with JWT access tokens. You can even create your own REST APIs with for instance Azure Functions and use JWT tokens from your Blazor application.
Set Up for First Use
This sample application requires a settings file that contains information about your application. I’ve intentionally left this information out of the repository. Application settings typically contain sensitive information.
Detailed instructions for setting up the sample application on your local computer is available in the source code repository.
If you haven’t used Blazorade MSAL before, be sure to check out this introduction section.
Implementing Blazor Authentication With JWT Tokens
Now that you have the sample application configured to run on your local computer, it’s time to have a closer look at it. I’m not going to go through all of the application, but only highlight the main points.
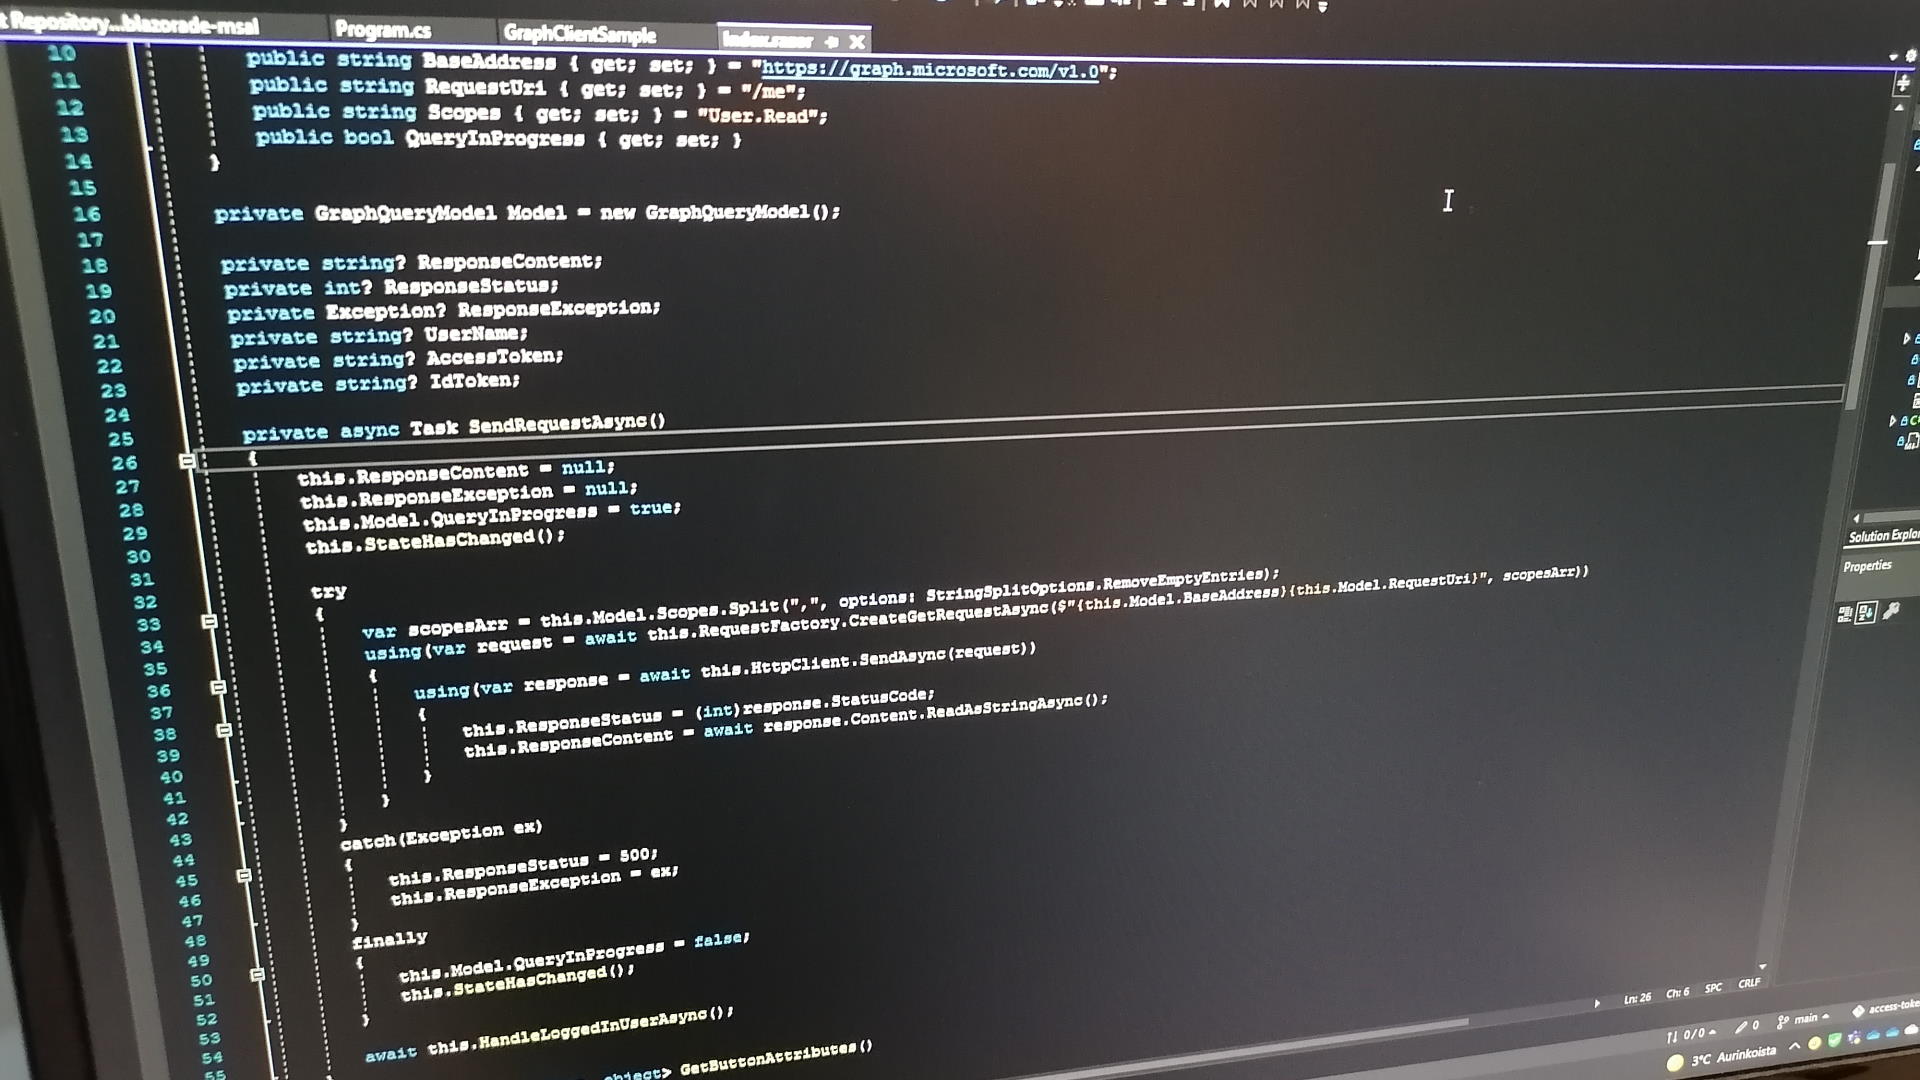
The sample application sends HTTP requests to Microsoft Graph. This application does that by using HttpRequestMessage objects. These object are “pre-authenticated” by the BlazoradeRequestFactory service class implementation. The service class is injected on the Index page, as shown below. I’ve also injected an HttpClient service, because I’ll use that later on when sending the requests.
@page "/"
@inject BlazoradeRequestFactory RequestFactory
@inject HttpClient HttpClient
With this, all you have to do now to get a request object is to call the RequestFactory as shown below.
using(var request = this.RequestFactory.CreateGetRequestAsync("https://graph.microsoft.com/v1.0/me", "User.Read")
{
    using(var response = await this.HttpClient.SendAsync(request))
    {
        // Process the response here...
    }
}
What Happens Behind the Scenes?
This looks pretty simple, right? That’s the added value of Blazorade MSAL! However, there’s a lot going on behind the scenes though. First of all, the BlazoradeRequestFactory uses the BlazoradeMsalService service to acquire an access token for the current user that grants the User.Read permission. This permission is required when calling the /me endpoint in Microsoft Graph.
The BlazoradeMsalService uses the JavaScript version of MSAL to acquire an access token. That JavaScript library caches the tokens for you. If a valid token does not exist in the cache, MSAL will take the user to the authentication process. In case the user has not consented to the permissions requested by your application, the login process will show the consent dialog too. If the authentication passes, and the user consents to the requested permissions, MSAL will return the access token to the BlazoradeMsalService.
Now the BlazoradeMsalService hands over the access token to the BlazoradeRequestFactory service. This service then creates an HttpRequestMessage object instance pointing to the URL specified by your application, and adds the access token as bearer token in the authorization header. The request will then be returned to your application. All you now have to do in your application is to use the injected HttpClient service to send away the request and handle the response.
Further Reading
To learn more about Blazorade MSAL, check out my other Blazorade MSAL articles.


0 Comments